 EdgeTasker
 Quickstart
Go from zero to a running guided workflow in a few minutes.
1. Get an API key
Create a tenant in the dashboard and issue a production key. It looks like ef_live_… and is shown once — store it securely.
2. Define a workflow
A workflow binds a series of steps to a target domain. Each step has an action type, a selector (with resilient fallbacks), a title, and a localized instruction hint. Values support {{token}} interpolation.
3. Initialize a session
Call the runtime API with your key, the workflow id, and the input data:
curl https://api.edgetasker.com/v1/copilot/initialize \
  -H "Authorization: Bearer ef_live_..." \
  -H "Content-Type: application/json" \
  -d '{
    "workflow_id": "wf_...",
    "input_data": { "search_term": "Wireless mouse" }
  }'
The response contains a copilot_protocol with every step pre-rendered (your input_data already interpolated).
4. Start the SDK
EdgeTasker.start({
  apiBaseUrl: "https://api.edgetasker.com",
  apiKey: "ef_live_...",
  workflowId: "wf_...",
  inputData: { search_term: "Wireless mouse" },
});
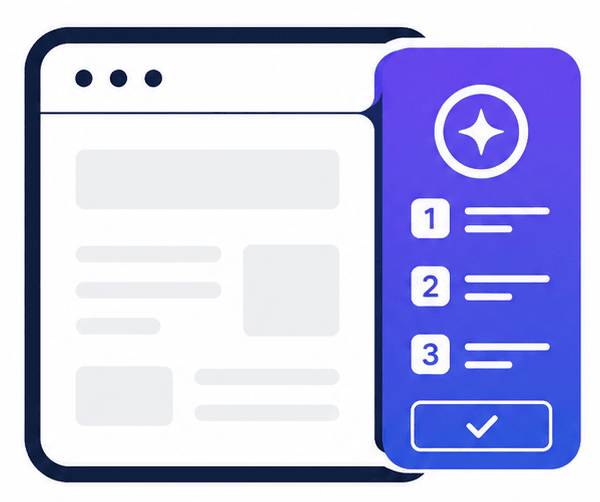
The sidecar appears, locates the field, types the value, and hands the final click to the user. See the Client SDK reference for options.
5. Watch analytics
Every execution writes to the usage ledger, powering success-vs-override ratios, live volume, and per-domain status in your dashboard.
No-code path: author in the dashboard + run in the extension
You don't have to touch the API. In the dashboard you can build a workflow visually — target a field by Name / ID / ARIA label / Placeholder / CSS (with fallbacks), set a fixed value or declare an input to prompt for — then run it from the EdgeTasker Chrome extension, which opens a docked side panel and guides you through the steps.
Run over a list (batch)
Declare an input (e.g. item) and, in the extension, choose Run for a list. Paste one value per line (or a CSV for multiple inputs) and the workflow runs once per row — a shopping list into a basket, or a price check across many products — pausing for your confirmation on each consequential click.
Hands-free between items (auto-advance)
A step can advance itself when the user clicks a target (e.g. a submit / add-to-basket button), an element appears, or the page navigates — so a batch flows straight from one item to the next without a manual Next. Set it per step under “Auto-advance to the next step when…”.